Prerequisites
Overview
Teaching: 15 min
Exercises: 0 minQuestions
What equipment do we need to begin cross stitching?
Objectives
Become familiar with the cross stitching equipment
- Pattern chart
- Fabric
- Embroidery hoop
- Coloured thread
- Needle
- Scissors
- A needle threader (optional)
- A needle minder (optional)
Pattern chart
The pattern chart is a gridded piece of paper that lays out the design we’d like to stitch.
Each square on the grid represents one full cross stitch and the grid often has a 10x10 square grid in bold to assist with counting. The pattern chart will contain symbols within the grid and a key that links each symbol to the number of coloured thread we should use to create that stitch with. The colours and layout of the stitches will help build up our pattern.
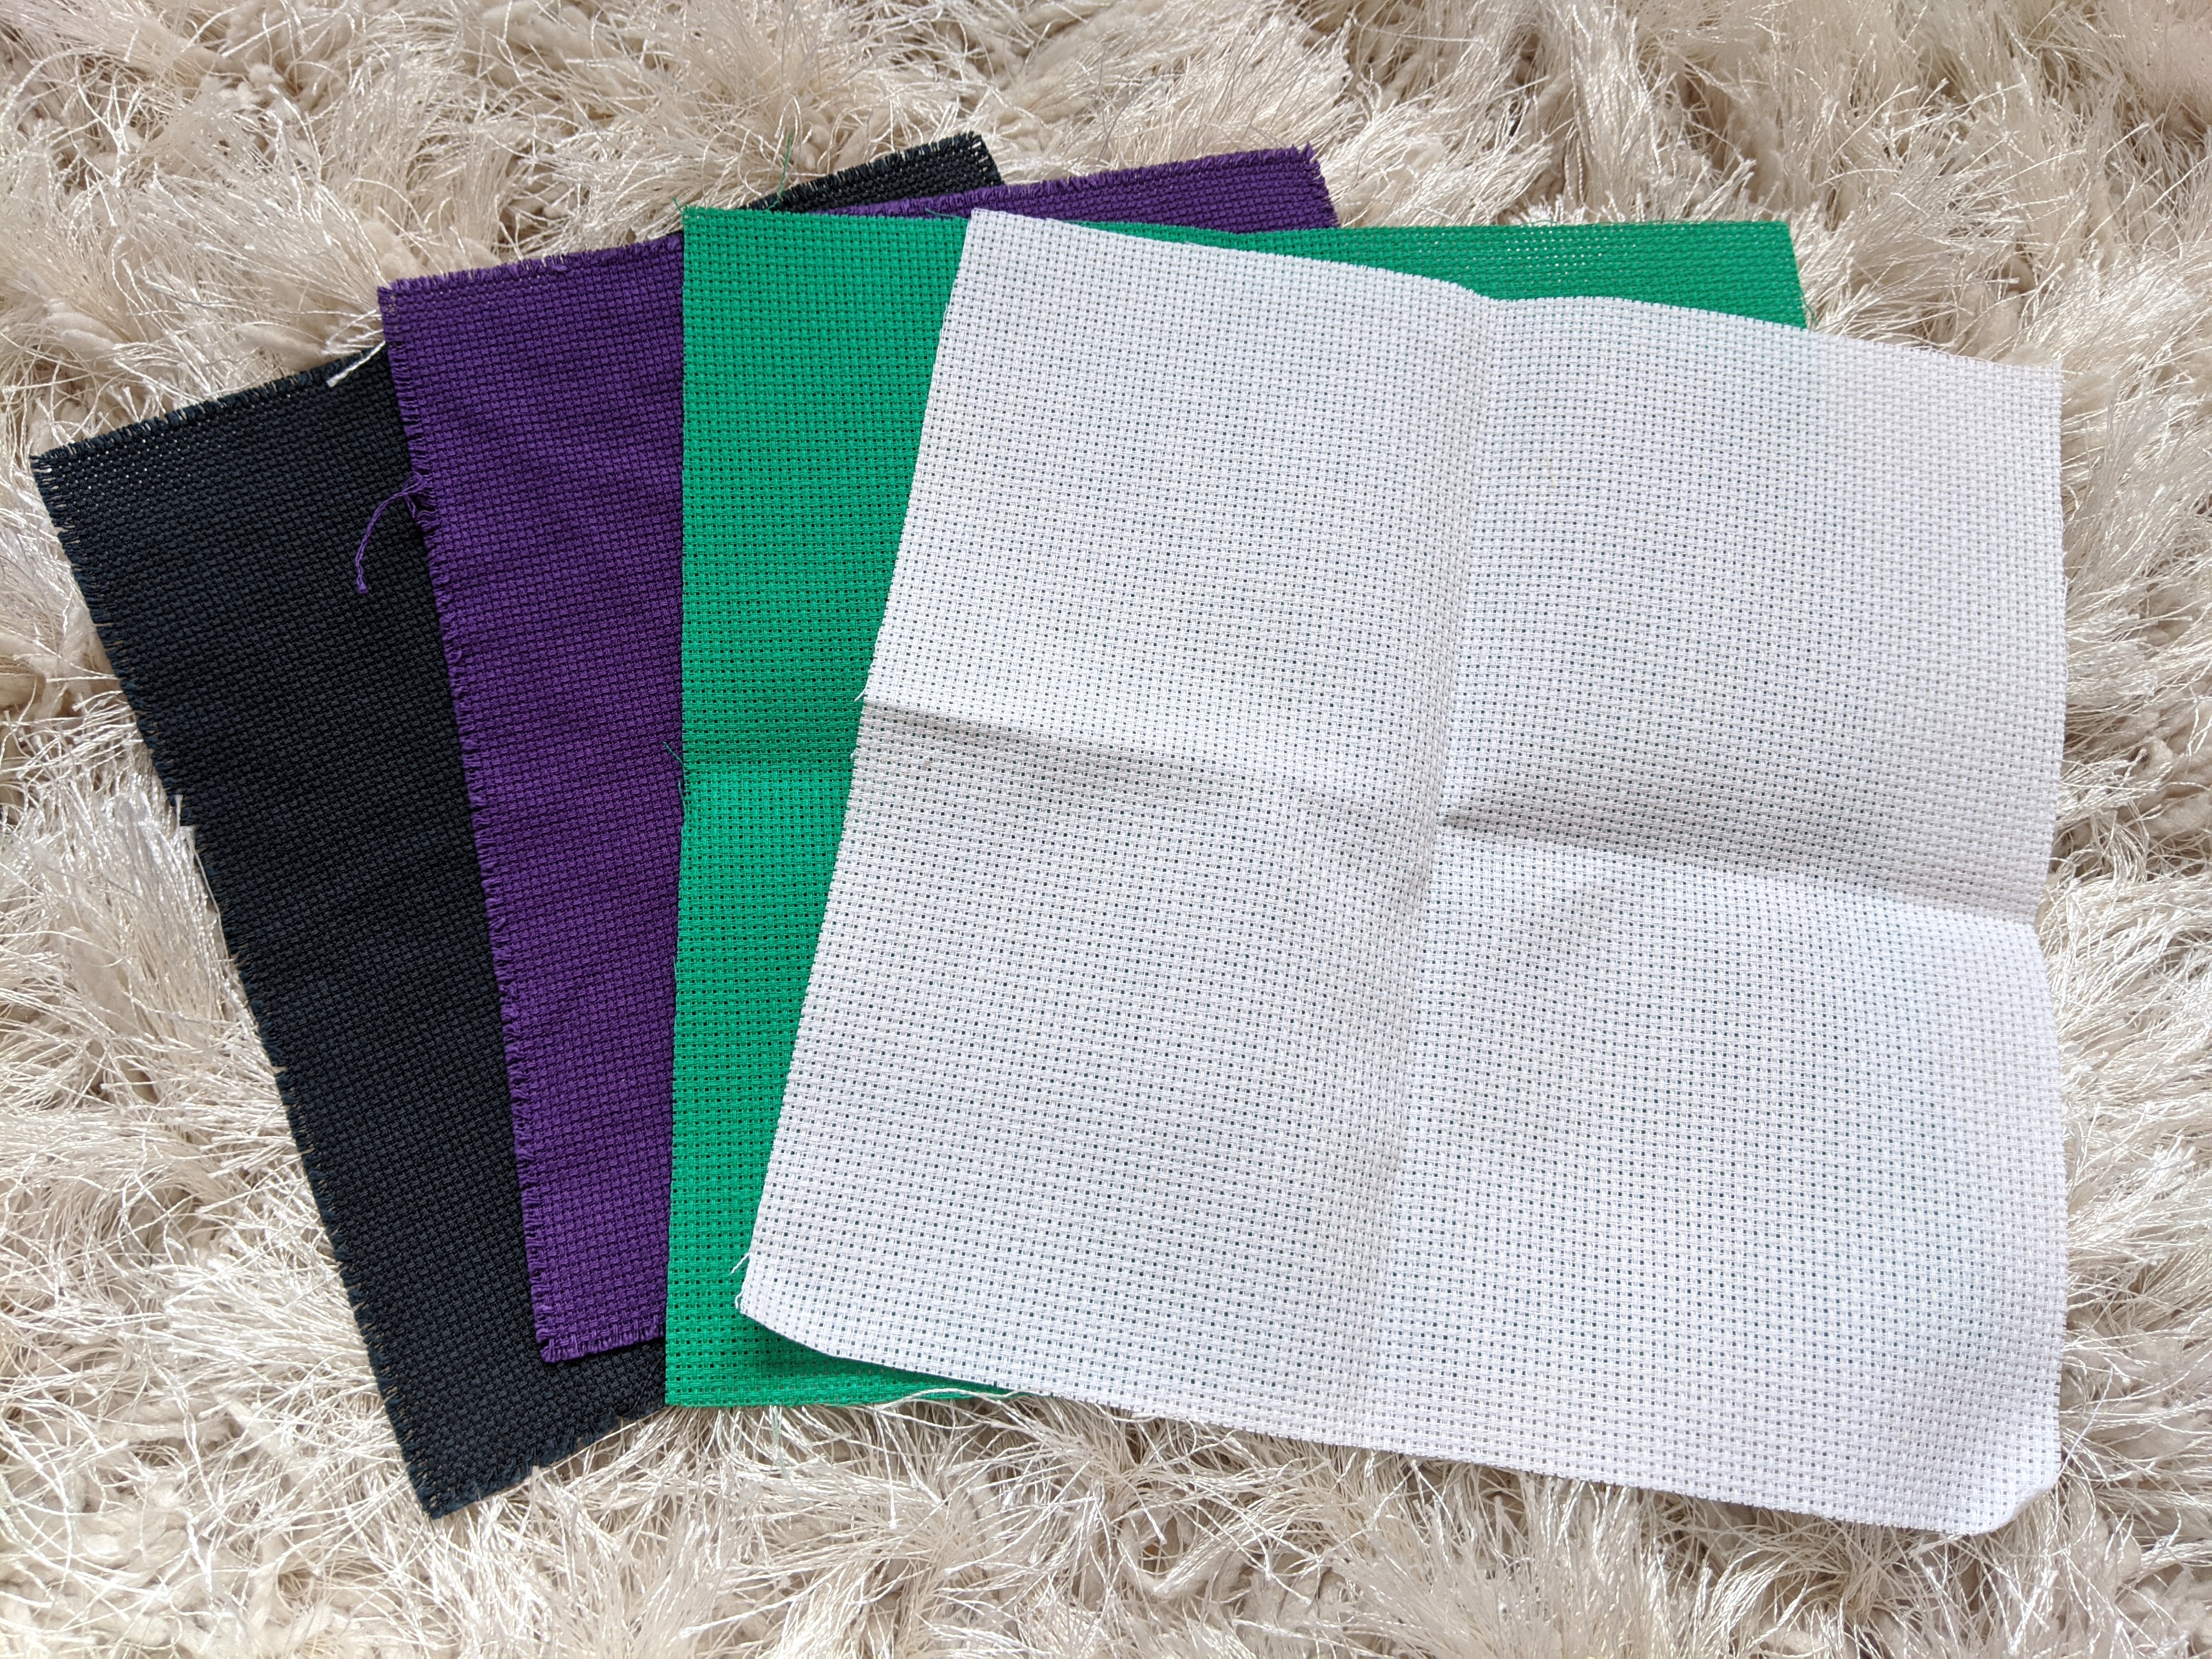
Fabric
We also need something to stitch onto, which is usually some kind of fabric. The fabric most commonly used for cross stitch embroidery is called “aida”. Aida is useful for cross stitching as it is woven in such a way that it has evenly-spaced holes that form the corners of our stitches. It is a type of “even weave” fabric, which means that the number of threads in the vertical direction matches the number of threads in the horizontal direction.
How far apart the holes in the aida are is described by the fabric’s “count”. Most commonly, cross stitching is done on 14 count aida. This means that 14 stitches will fit in 1 inch of fabric. The higher the count, the more stitches per inch you will get.
 |
|---|
| Aida can be brought pre-dyed in a range of colours or you could be adventurous and dye it yourself! |
How much fabric do I need?
Your pattern chart should contain information of the dimensions of the completed pattern on different counts of aida. It may say something like:
5”x6” 14 count
This means that the finished stitched area will take up 5”x6” providing you use 14 count fabric. When selecting the size of the fabric to work with, it’s recommended to add an extra few inches to the outside to account for the placement of the hoop and any extra you made need for framing your finished piece.
If you want to use a different count fabric to the recommendation, or need some help calculating fabric size, there are lot of handy tools online to help you work this out.
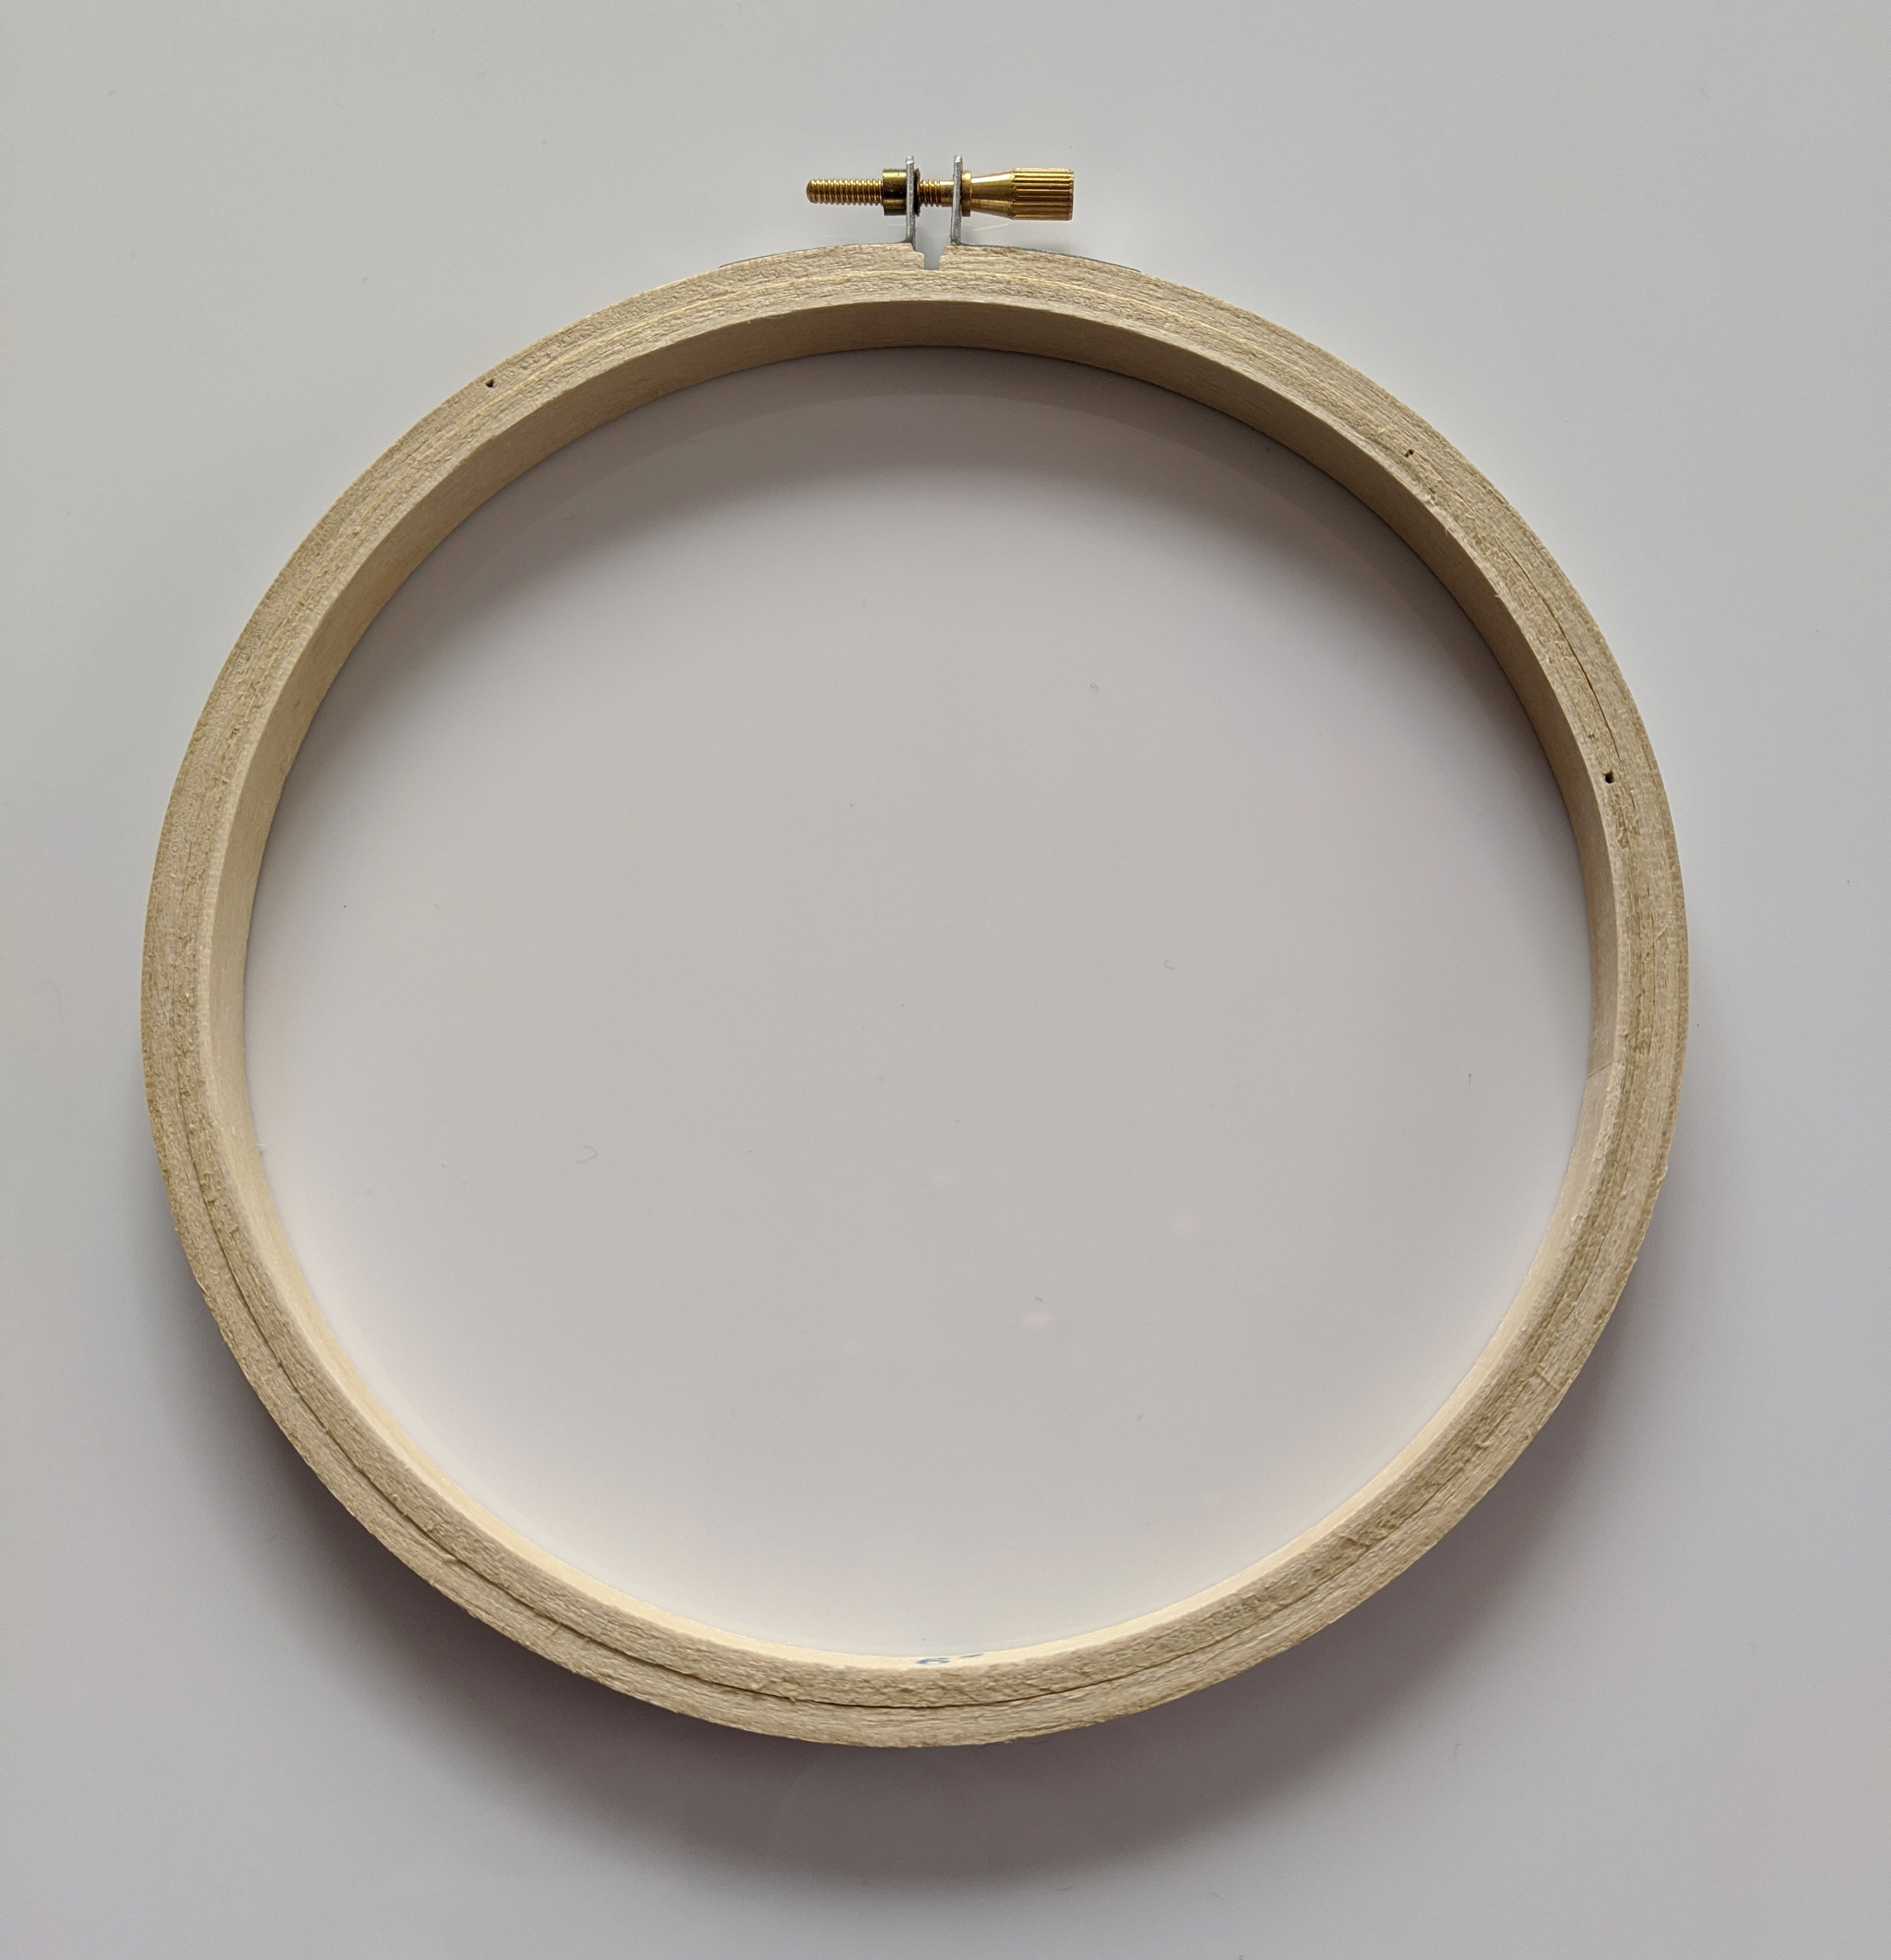
Embroidery hoop
Embroidery hoops, also known as frames, are a pair of concentric circular rings (often available in wooden or plastic materials) that are used for keeping fabric tightly secured and cleanly placed when stitching and performing needlework.
 |
|---|
| Embroidery hoops can be made out of wood, like the one pictured here, or plastic. |
What size hoop do I need?
As we discussed in “How much fabric do I need?”, the size of your finished pattern will depend on the stitched area and the fabric count you use. Where possible, you should choose a hoop large enough to encompass the whole pattern as this will mean you will have to move the hoop less as you work on your design. This is especially important if you plan to display your finished piece in the hoop. However for very large patterns, it’s fine to use a smaller hoop.
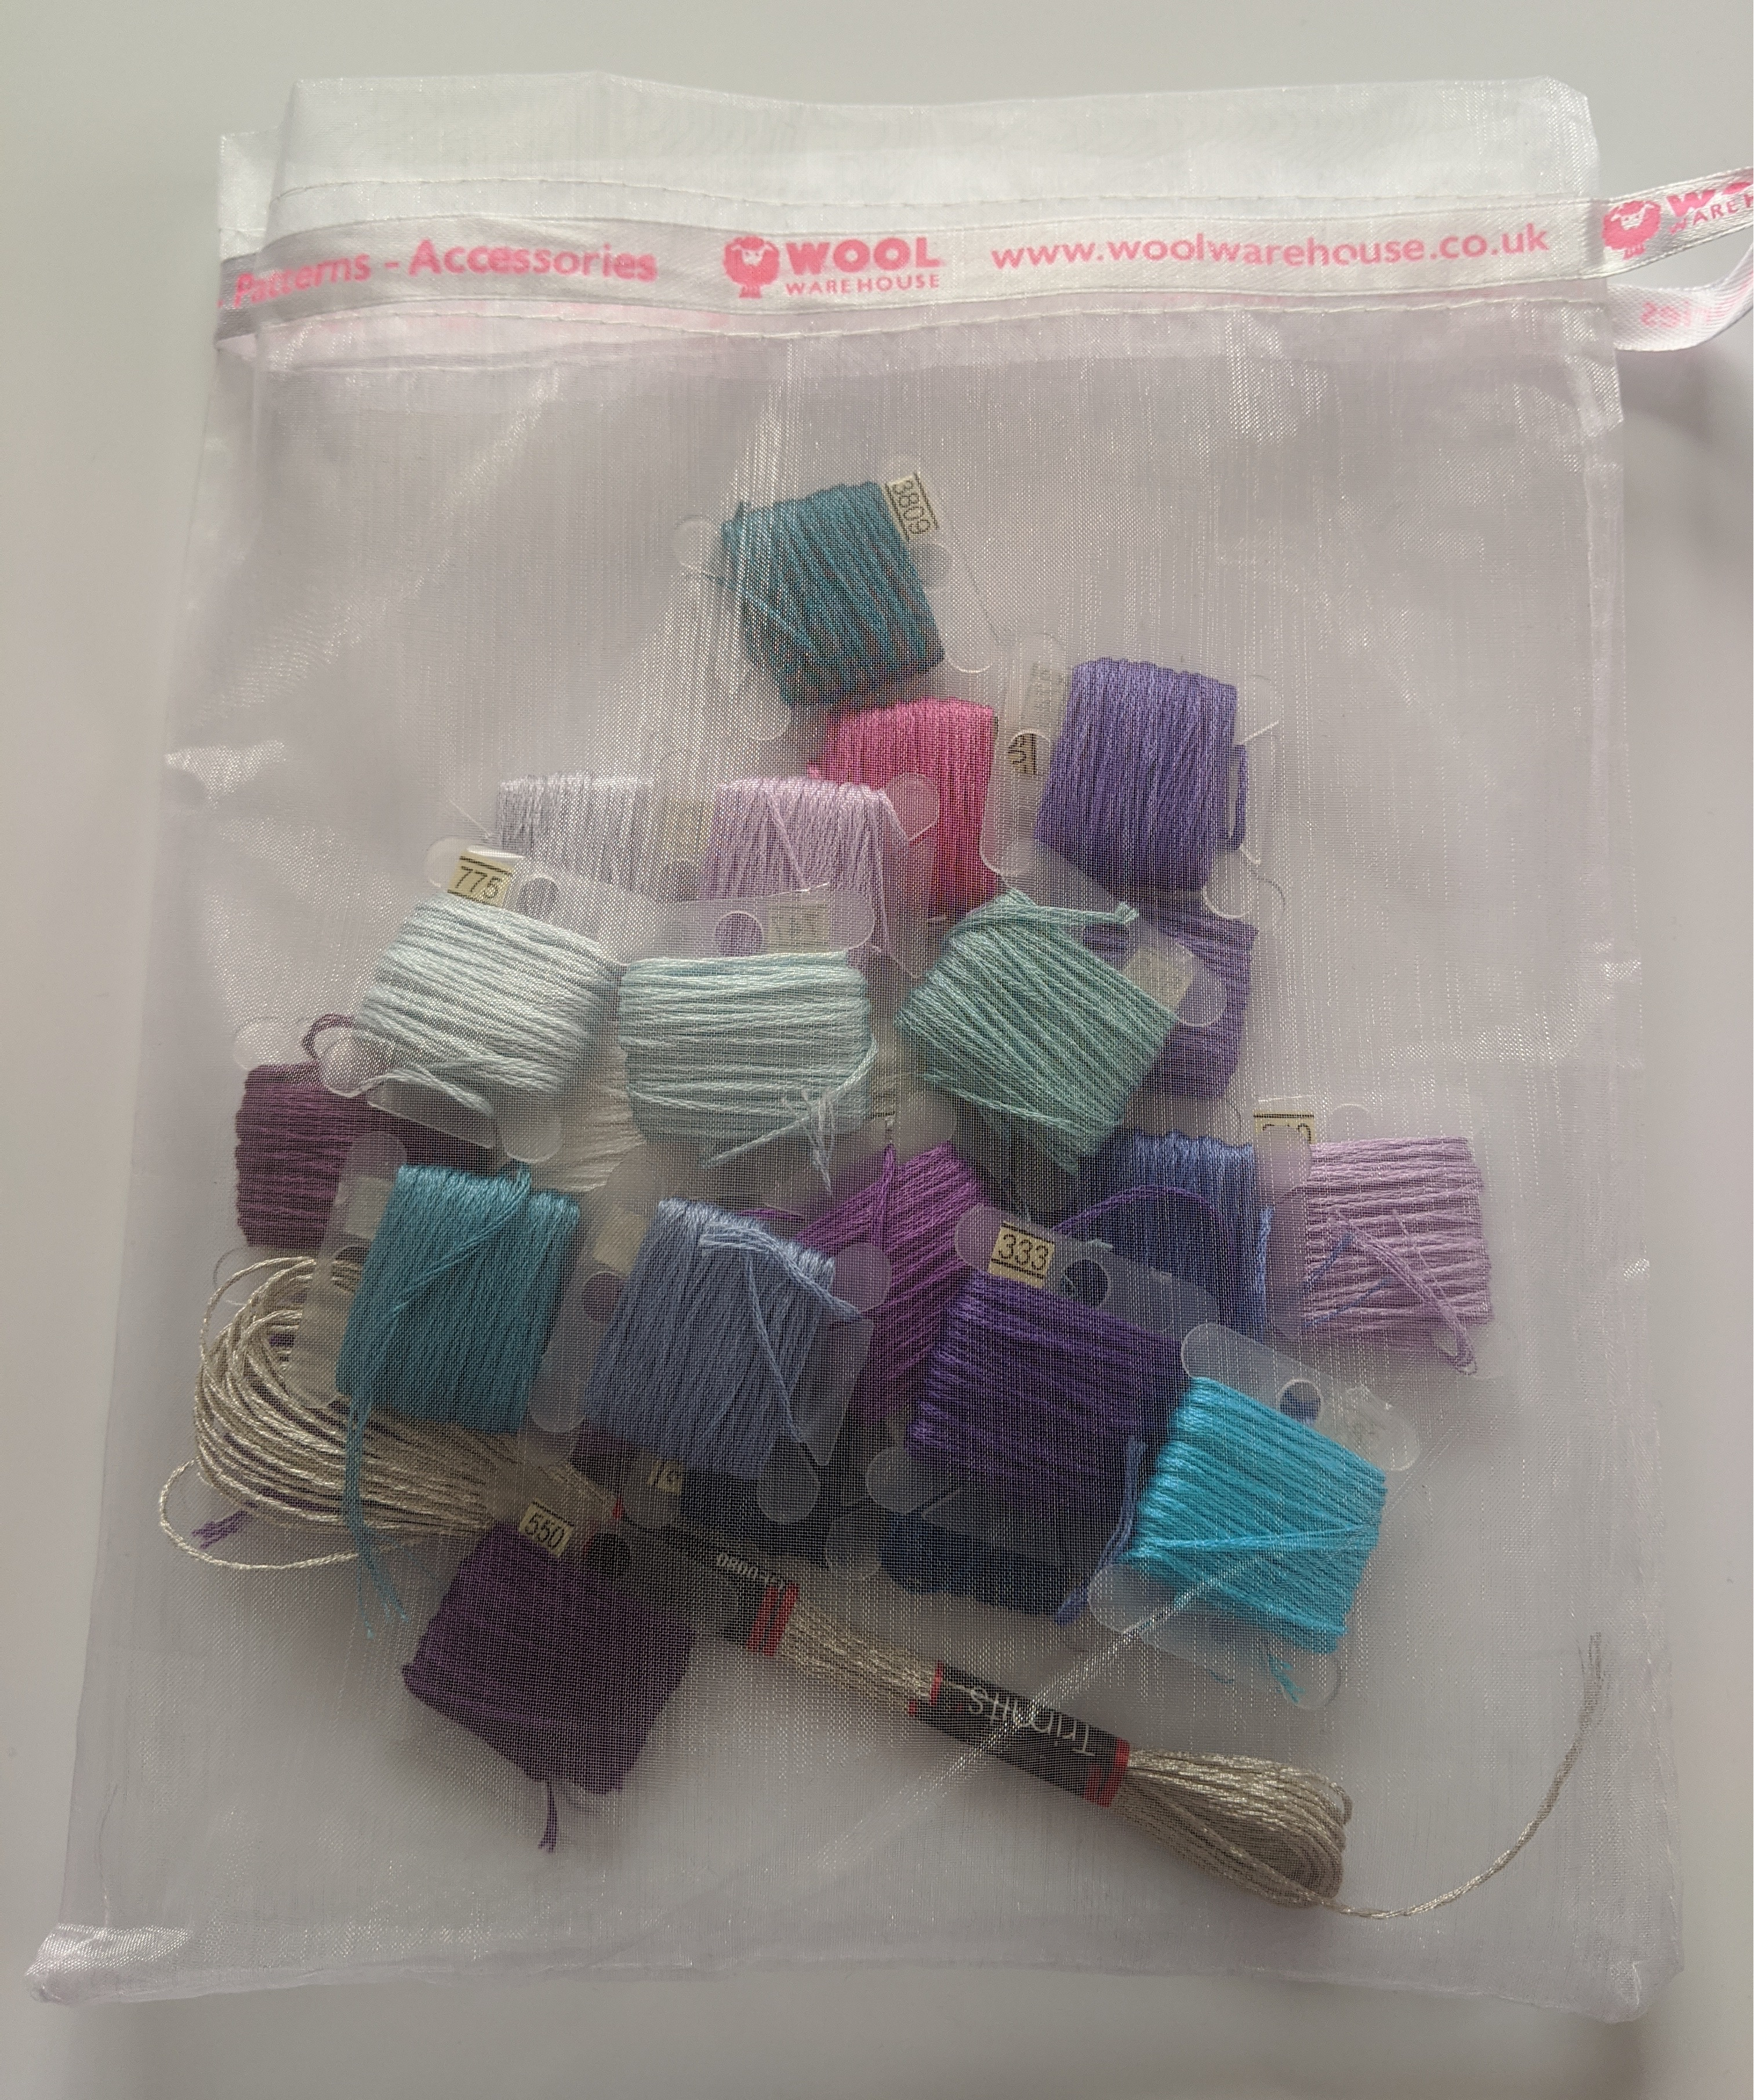
Coloured thread
We also need some coloured thread to make our stitches with!
In the key of the pattern chart, there’ll be a list of numbers that correspond to the coloured thread you’ll need to complete the pattern. There are many different brands of thread you could use and which brand the chart maker had in mind should be listed on the pattern chart too. This is because the colour numbers don’t match up between brands!
A brand called DMC is most commonly used for cross stitching, but you may also see Anchor being referred to.
 |
|---|
| You can store thread in a variety of ways. These threads have been wound onto bobbins. |
How much thread do I need?
Embroidery thread is often sold in skeins. How many you’ll need of each colour will depend on how large your pattern is and how often the colour is used.
As well as which colours to use, your pattern chart may also include information on how many stitches there are in each colour (stitch count) and how many threads to use for each colour (thread count). You can enter this information into an online tool to calculate how much of a skein the stitching will use. Note that this will be an estimate as it won’t take into account how much thread you will need to start/stop a colour.
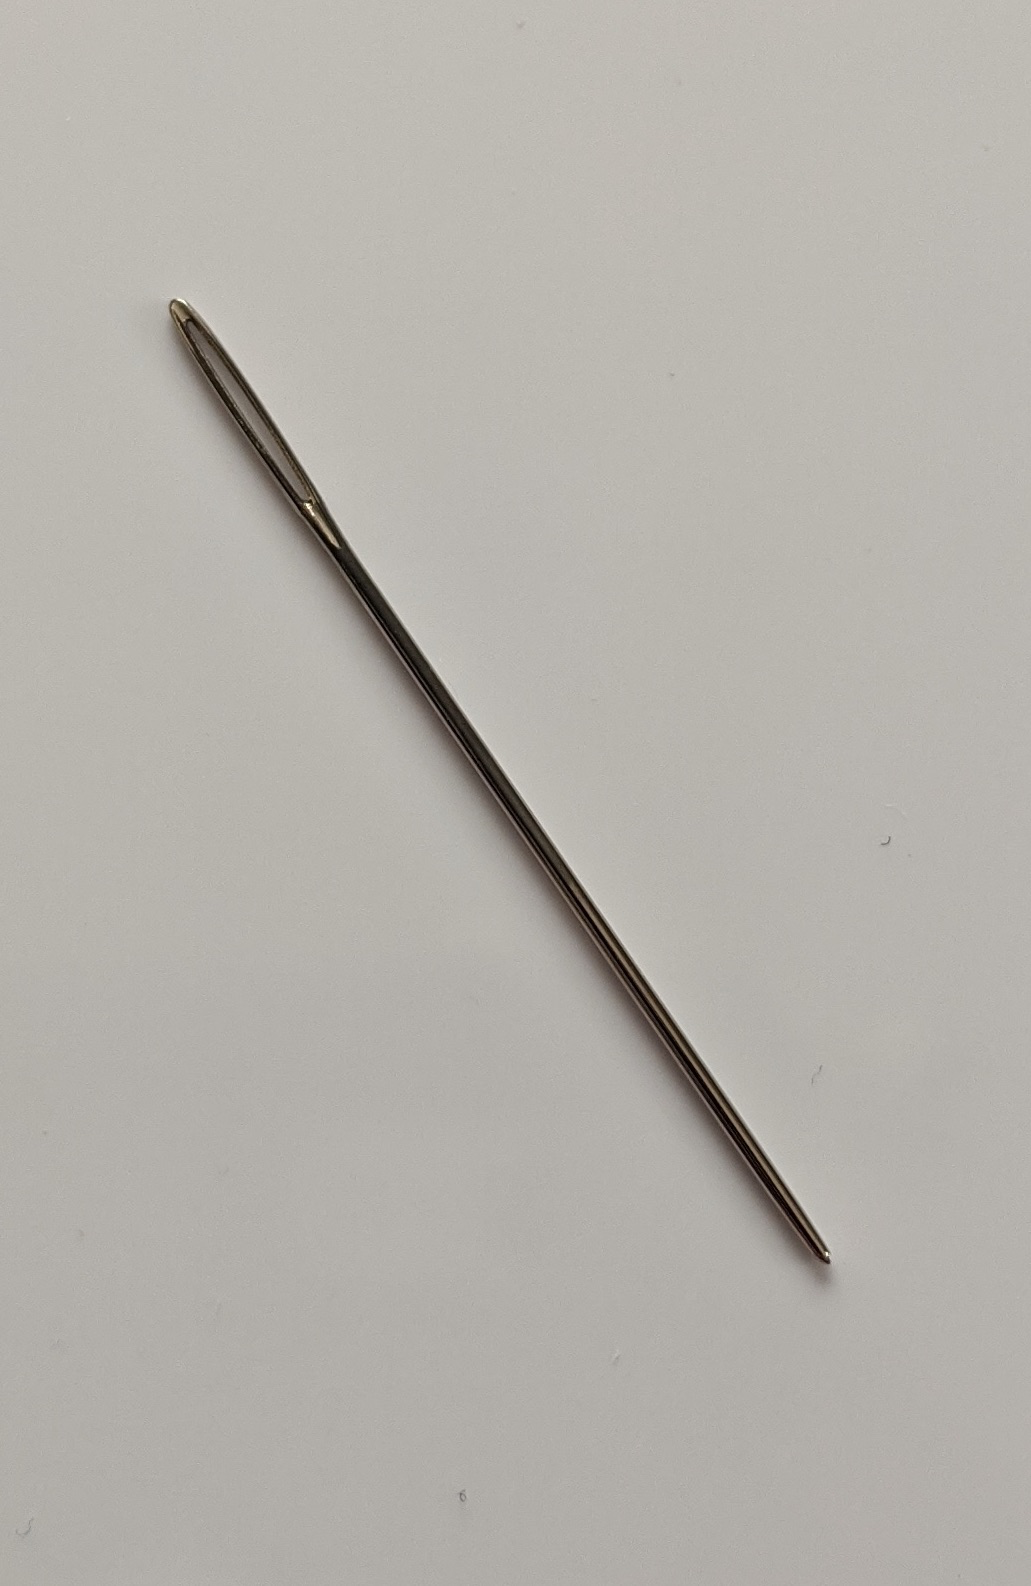
Needle
We can’t do needlepoint without a needle! We recommend using a Size 24 cross stitching needle. This type of needle is quite blunt so you don’t have to worry about injuring yourself while stitching. These can also be purchased from DMC.
 |
|---|
| A size 24 DMC cross stitch needle. |
Scissors
It will be handy to have a pair of scissors around to cut loose ends of thread with. You could purchase a set of embroidery scissors or a small pair of craft scissors will suffice.
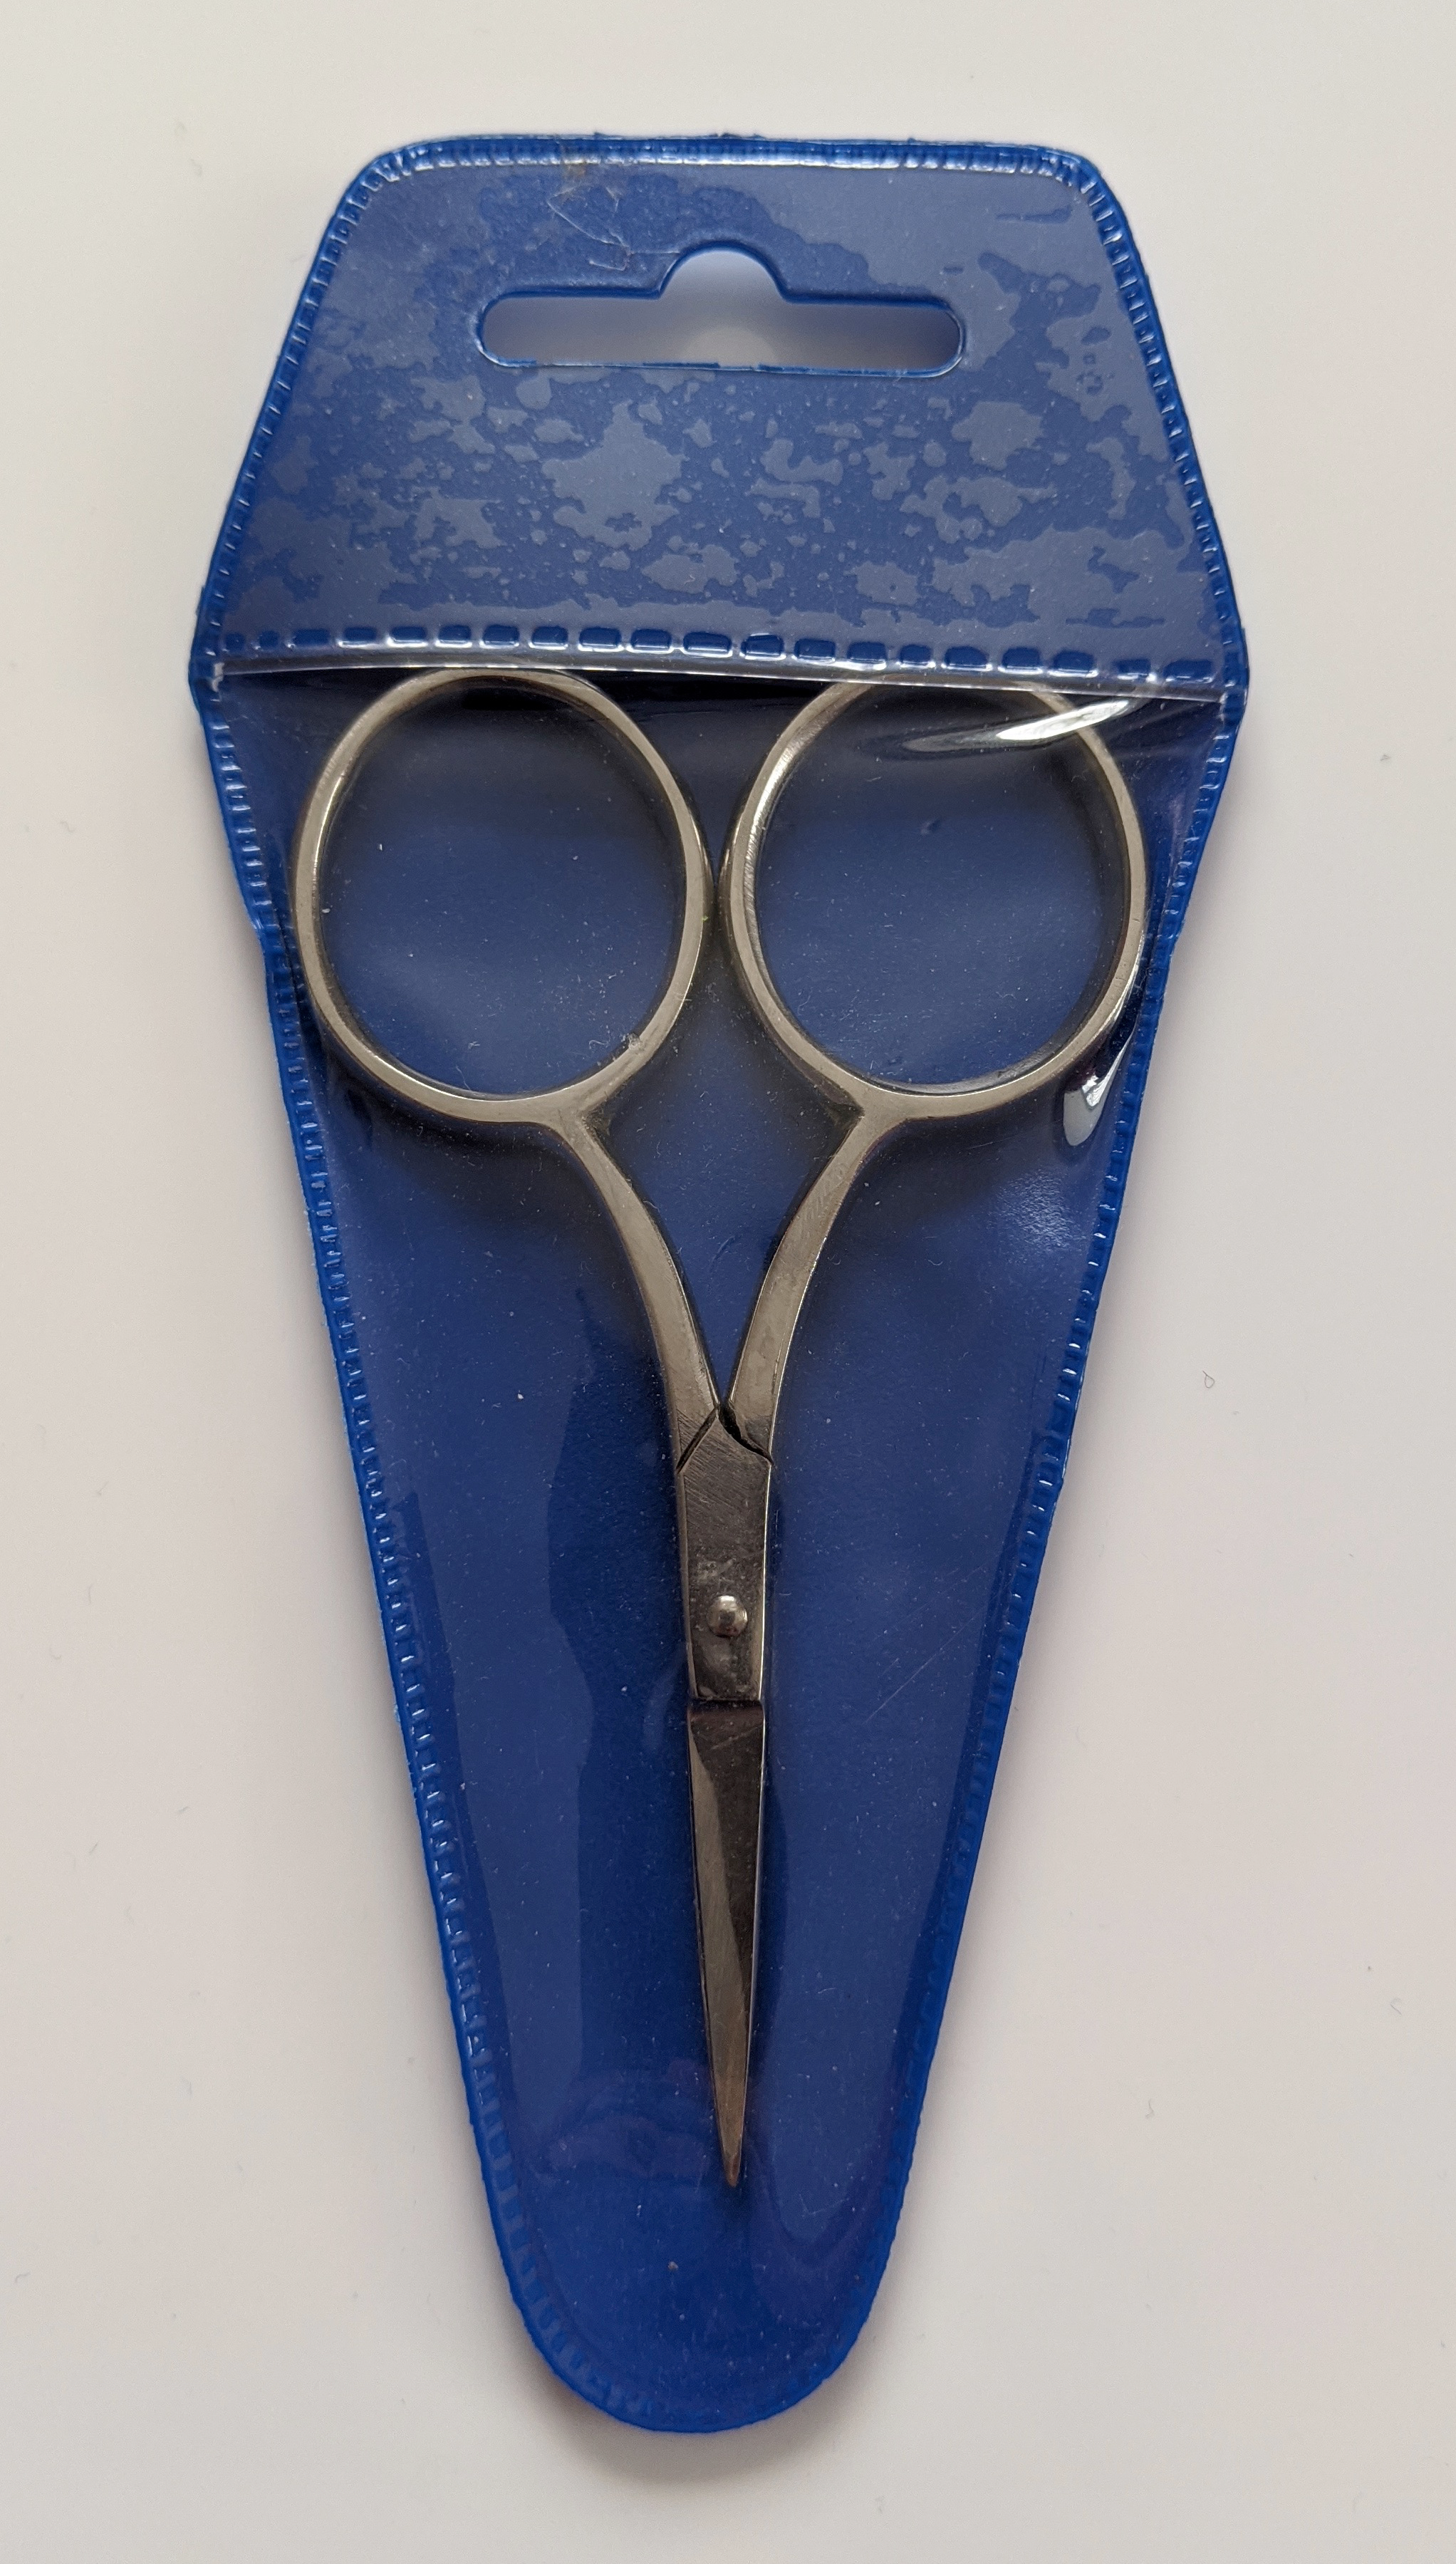 |
|---|
| A pair of embroidery scissors in a protective case. |
Needle threader
A needle threader is a tool to help you thread needles more easily. It’s not an essential tool for cross stitching, but it may help if you find threading the needle difficult.
Needle minder
A needle minder is a small magnet that stitchers attach to their fabric while they work. The needle is attracted to the magnet and prevents it from becoming lost between crafting sessions. Again, this is not an essential tool, but it can be useful to keep track of your needle and also you can buy needle minders in a lot of fun designs.
Key Points
Become familiar with the cross stitching equipment
Getting Started
Overview
Teaching: 20 min
Exercises: 0 minQuestions
How to find the middle of the fabric?
How to use emroidery hoop?
How to prepare embroidery thread for use?
Objectives
Getting prepared to stitch
Fabric and needle
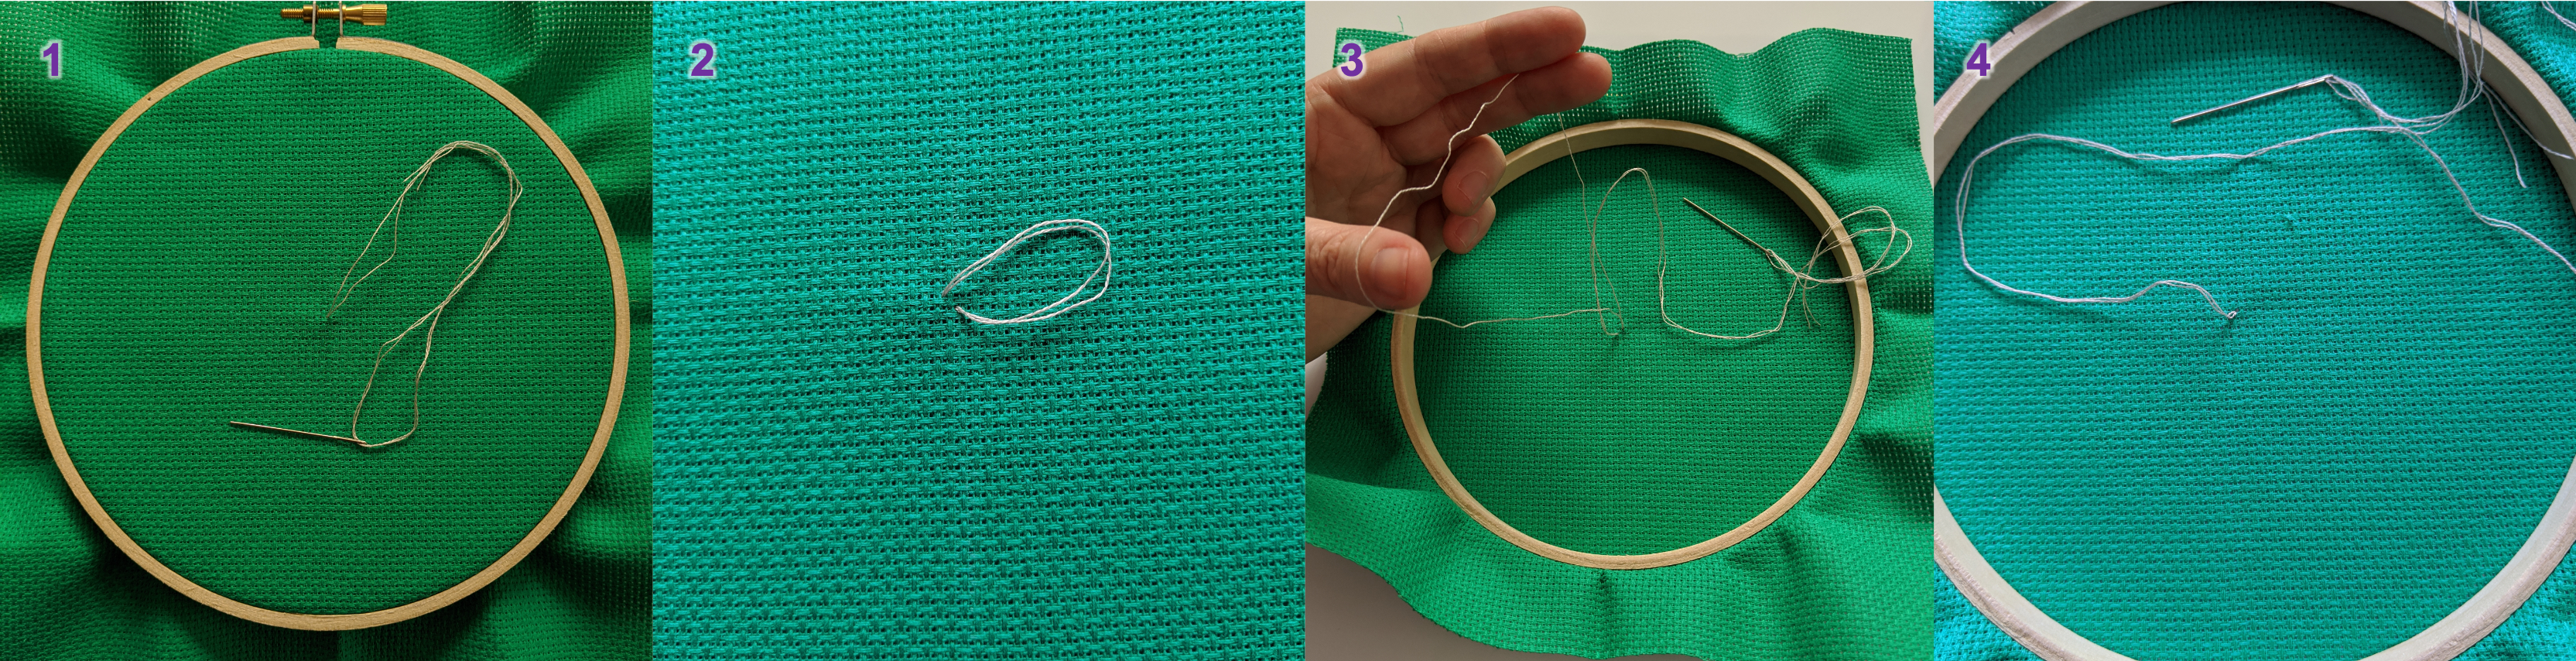
It is always a good idea to start by looking for the the middle/center of your fabric. This will allow you make sure your design is placed as intended in the fabric.
One way to do this is to fold the fabric in half and then half again. You can then keep track of the centre by pushing the needle through the fold.
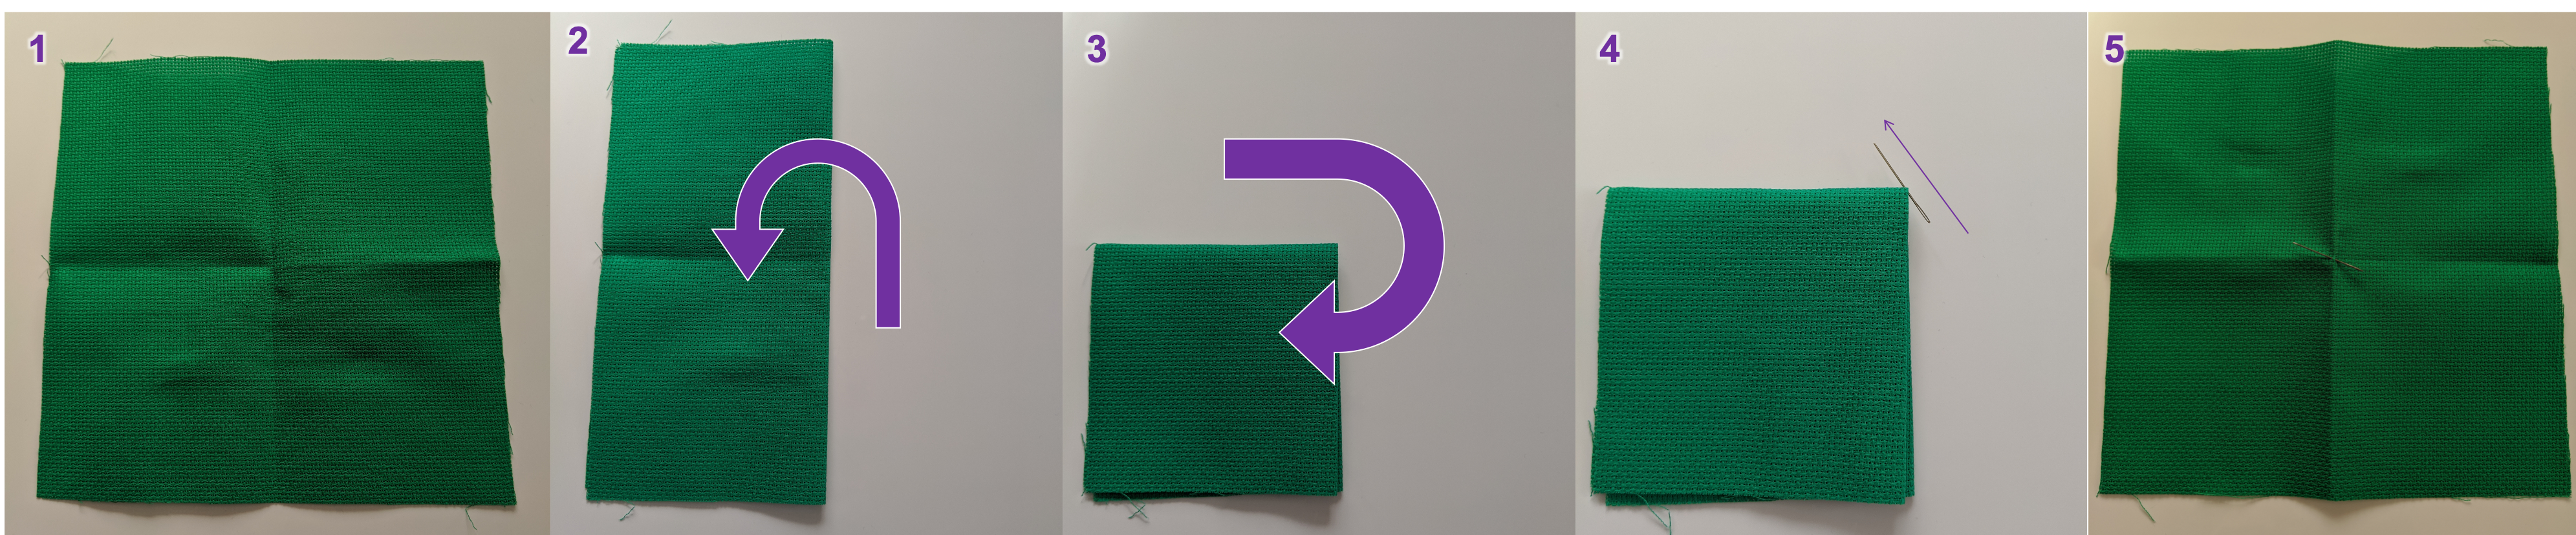 |
|---|
| Figure 1: How to find the centre of you fabric and mark it with your needle. |
Embroidery hoop
An embroidery hoop will help keep your fabric taut and your tension even while you stitch.
To fit your embroidery hoop: unscrew the fastening and separate the rings, then sandwich the fabric between the inner and outer rings. On a flat surface, push the rings back together, trying to keep the centre of the fabric in the centre of the hoop. Gently pull at the loose fabric around the edge while tightening the screw. The fabric should be drum-tight. If the screw is stiff, a flat-head screwdriver will help.
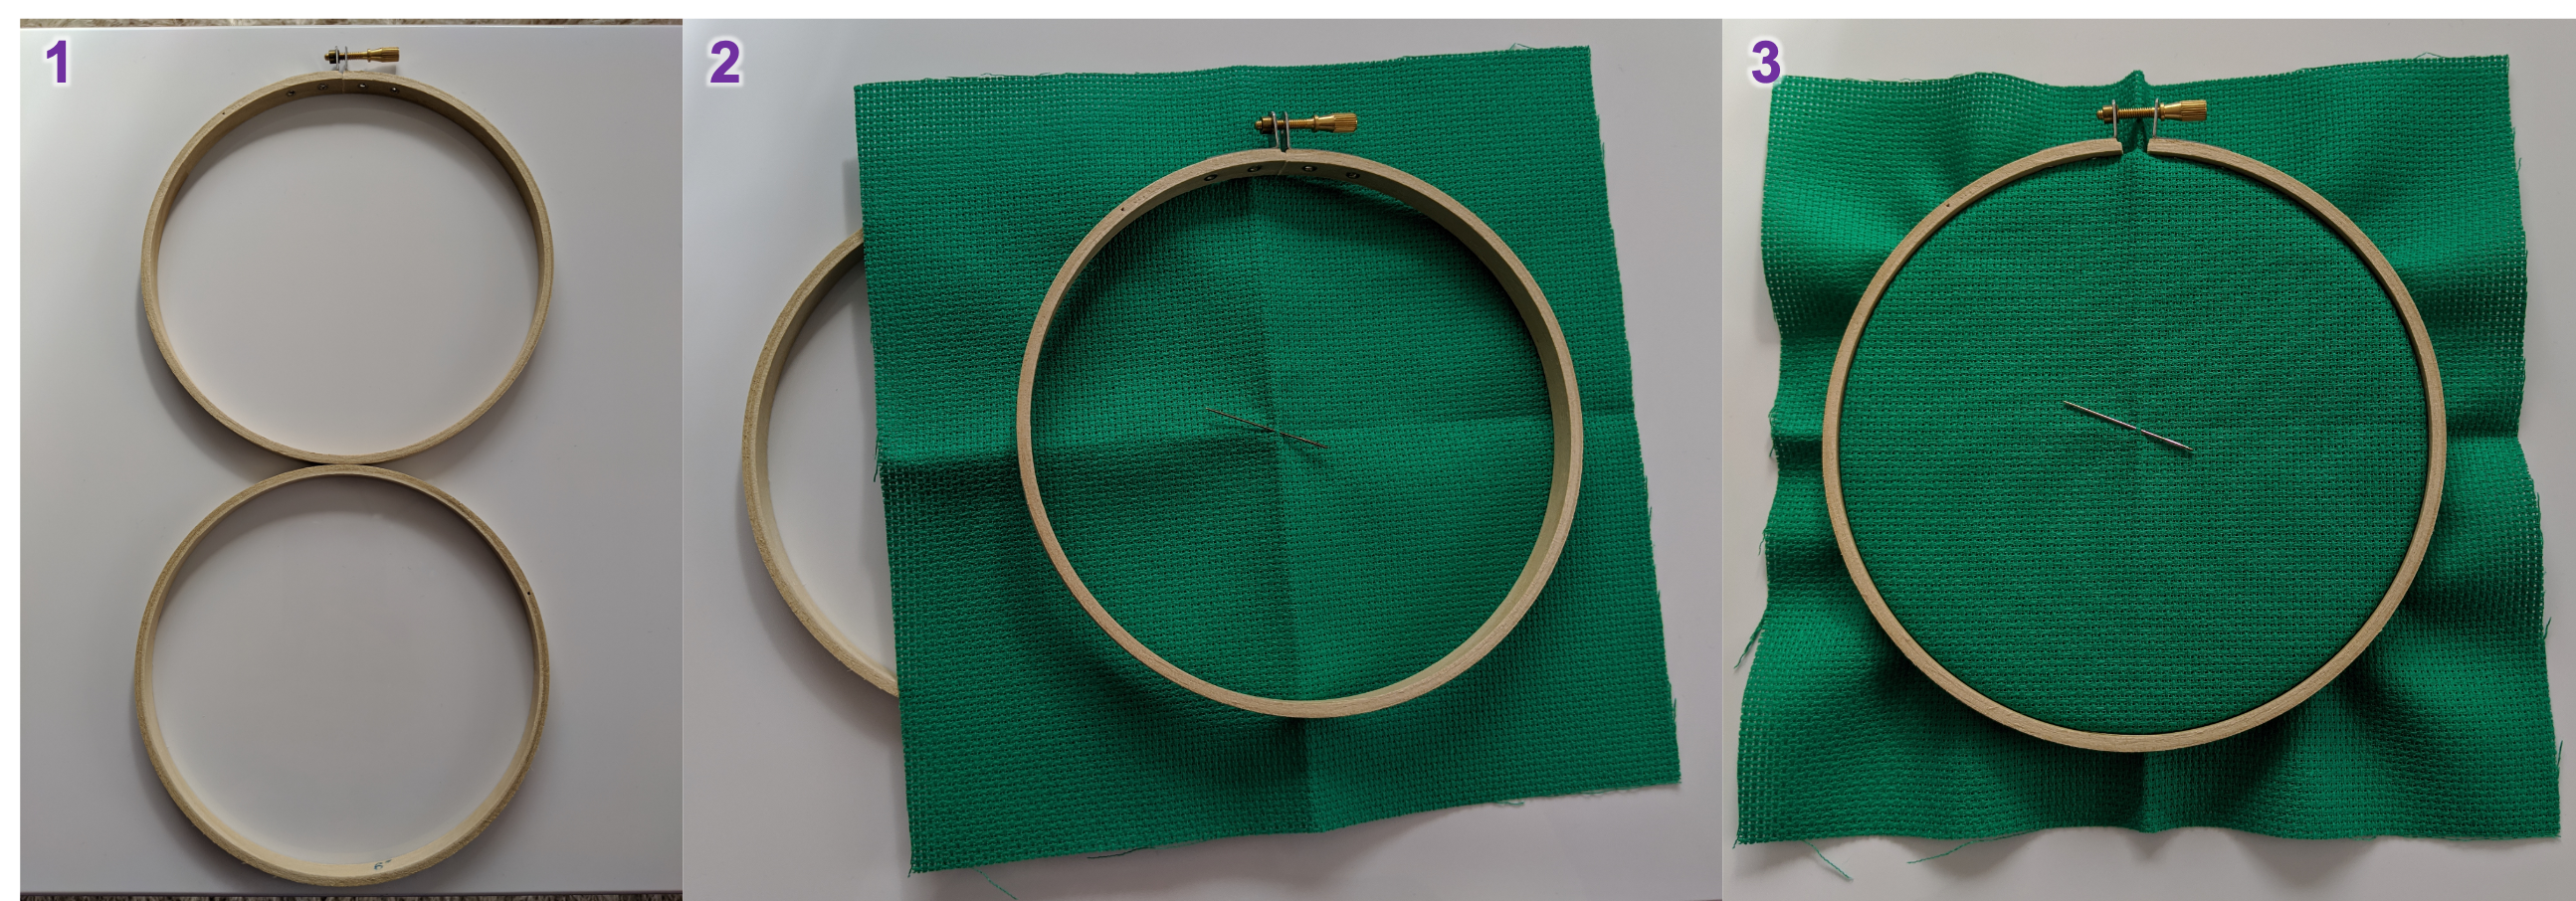 |
|---|
| Figure 2: Fitting an embroidery hoop to the fabric. |
Thread
Now for the thread! Stranded-cotton is the go-to for cross stitch. It’s made of 6 strands and is wound together in skeins. First we need to cut a length of thread.
Choose the colour of thread that corresponds to the first stitch in the centre of the pattern. We’re going to work from the centre out. The ideal length of thread to stitch with measures from fingertip to elbow, so cut a section of thread this long. Pull 1 strand out of the 6 and fold this over so the two ends meet. Thread the two ends through the eye of the needle. Most cross stitch patterns on 14 count aida require stitches made with 2 threads for suitable coverage of the fabric. By folding the thread in half like this, we can do something called a loop start.
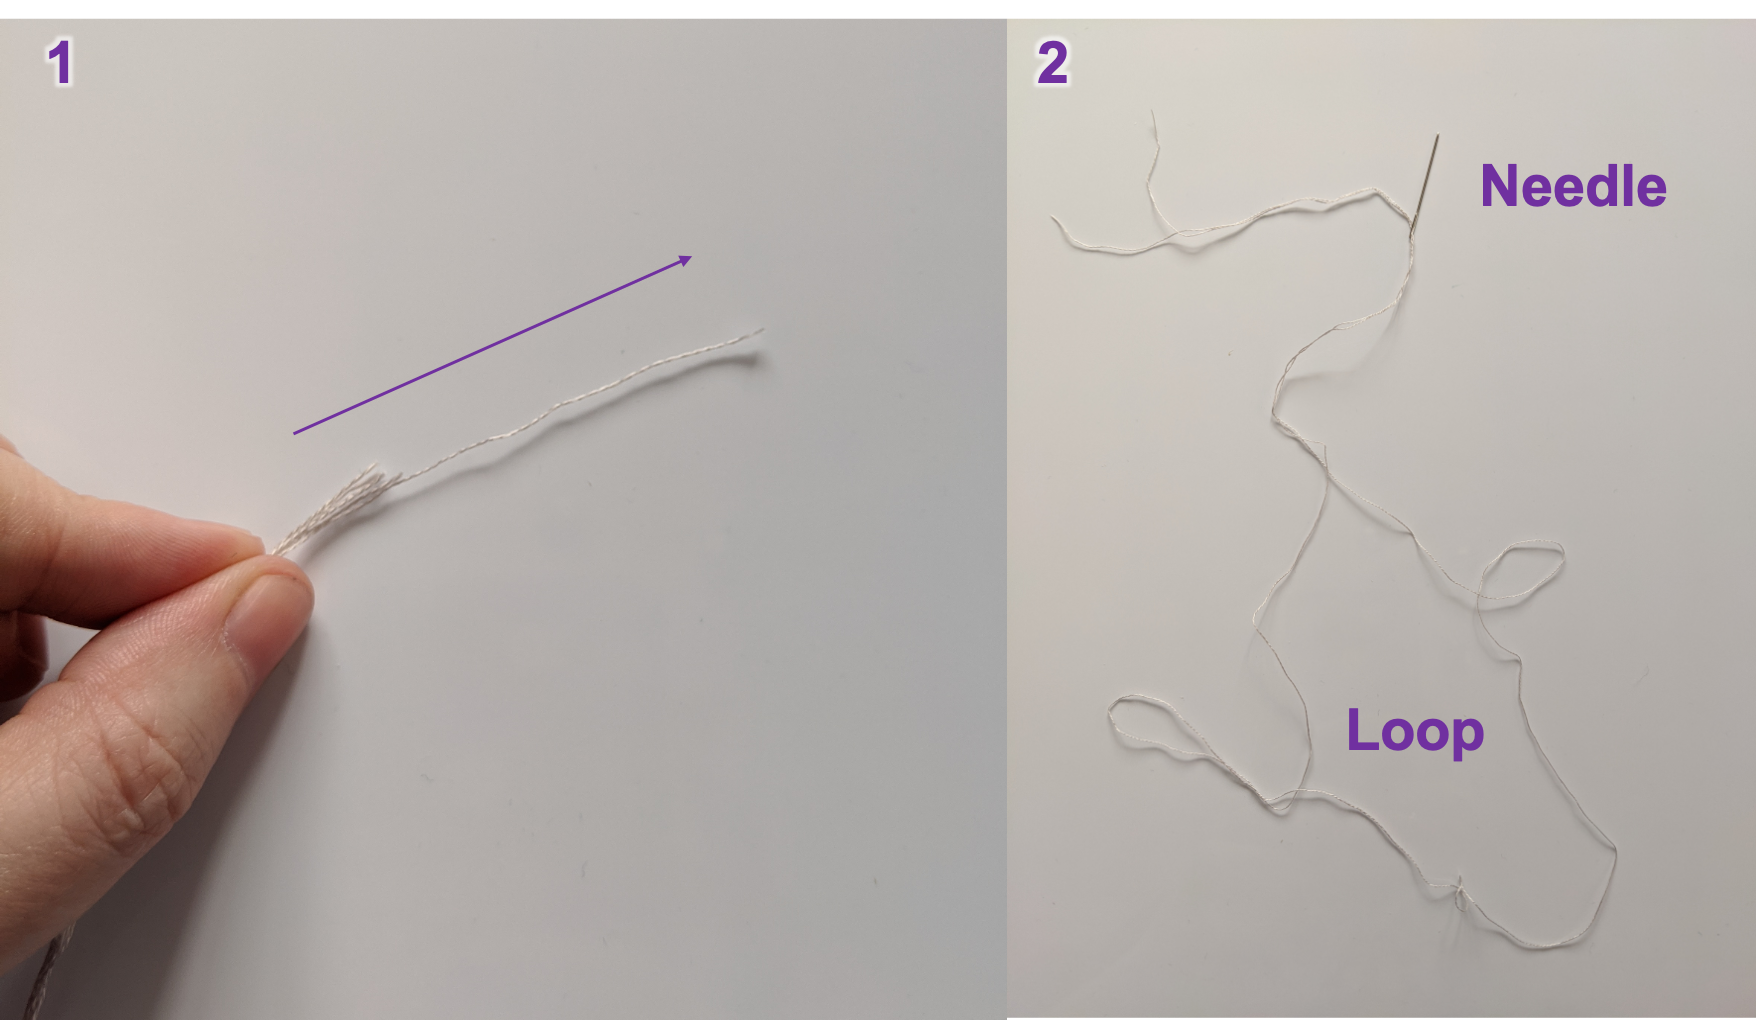 |
|---|
| Figure 3: How to thread the needle in preparation for a loop start. |
Congratulations, you’re now ready to start stitching!
Key Points
Getting prepared to stitch
How to Cross Stitch
Overview
Teaching: 30 min
Exercises: 0 minQuestions
How to start stitching?
How do we make the cross stitch?
How can we make our stitching look neat?
Objectives
Introduction to the loop start method
How to make a cross stitch
Stitching best practices
How to Cross Stitch
Now it’s time to cross stitch!
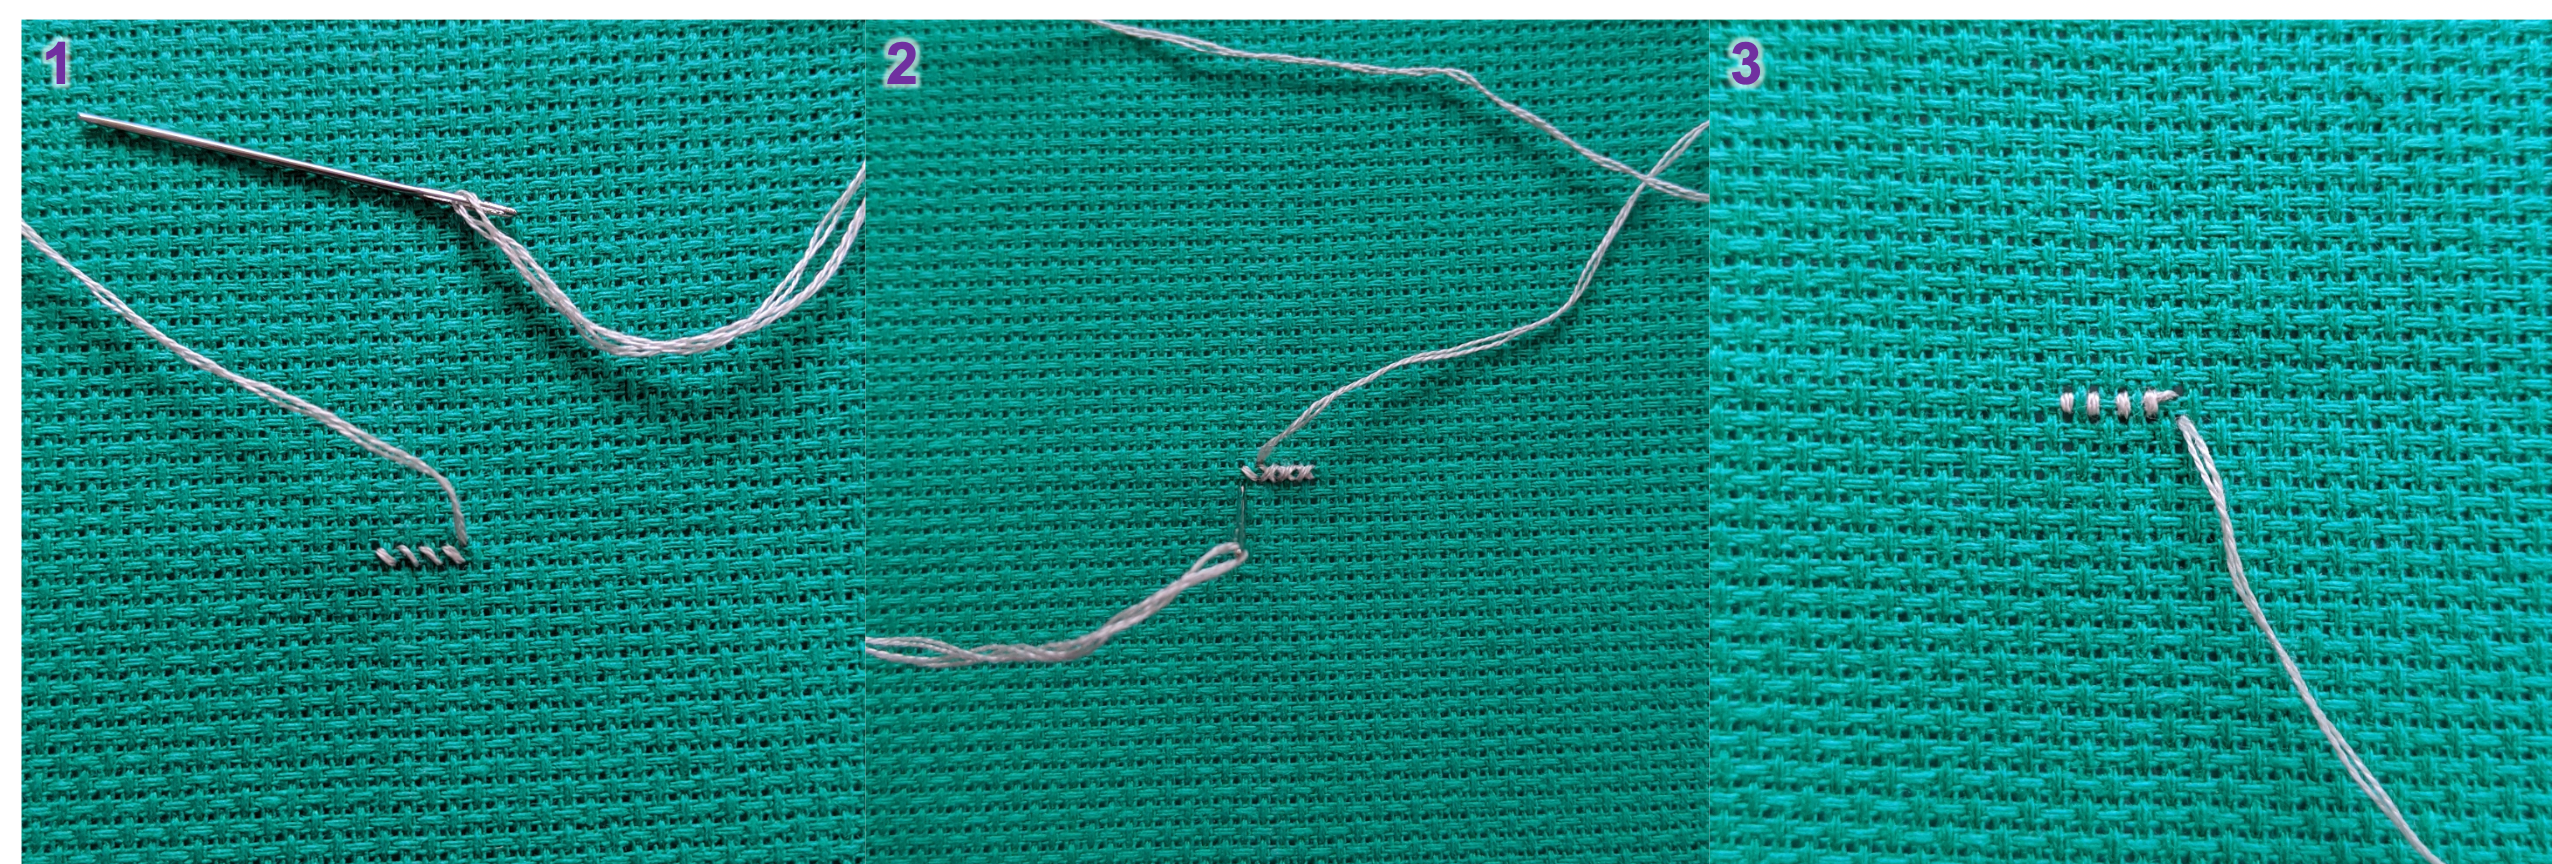
To make the first stitch, push your needle from the underside of the fabric through what will be the top left corner of your stitch.
Be careful not to pull all the thread through!
Now push your needle through the hole 1 space to the right and 1 space down from where we came up.
This will create the first diagonal \ part of the cross stitch.
Now on the back of your fabric, pass the needle through the looped end of your thread and pull it taut.
This should make an anchor preventing your thread from pulling through the fabric.
This method is known as a “loop start”.
 |
|---|
| Figure 1: How to anchor your first stitch with a loop start. |
From the underside of the fabric, pass the needle through the hole one space above where you last came through the fabric. Back on the front you fabric, pull the needle through the hole one space down and to the left of where you just came up.
This should have created your first cross (X) stitch!
Stitching Best Practices
When cross stitching, there’s a couple of best practice tips that will help make your work look super neat. Ultimately you can stitch however works best for you, just bear these tips in mind when thinking about your workflow.
1) Always make sure your crosses go the same way.
So if you make your crosses by going left-to-right (\) first, then right-to-left (/) on top, make sure all your crosses do this. It will give a uniformity to your stitching.
2) Do a row of half stitches then come back along the line to finish off the cross.
It can save a lot of time and be a more efficient way to stitch if you work along a line with half stitches first (for example, \), then come back down the line to finish off the crosses (so, /// followed by \\\).
This again helps neaten your work up but also means there’s less thread to unpick if you make a mistake.
 |
|---|
| Figure 2: A method of stitching that makes your stitches look uniform. |
Further Reading
Key Points
The loop start method
Making a cross stitch
Stitching best practices
Finishing Off
Overview
Teaching: 15 min
Exercises: 1 minQuestions
How to secure the of end of the thread?
Objectives
Learn how to finish off your thread underneath your cross stitch
Secure the end of your thread so the stitches don’t come undone.
Finishing off your thread
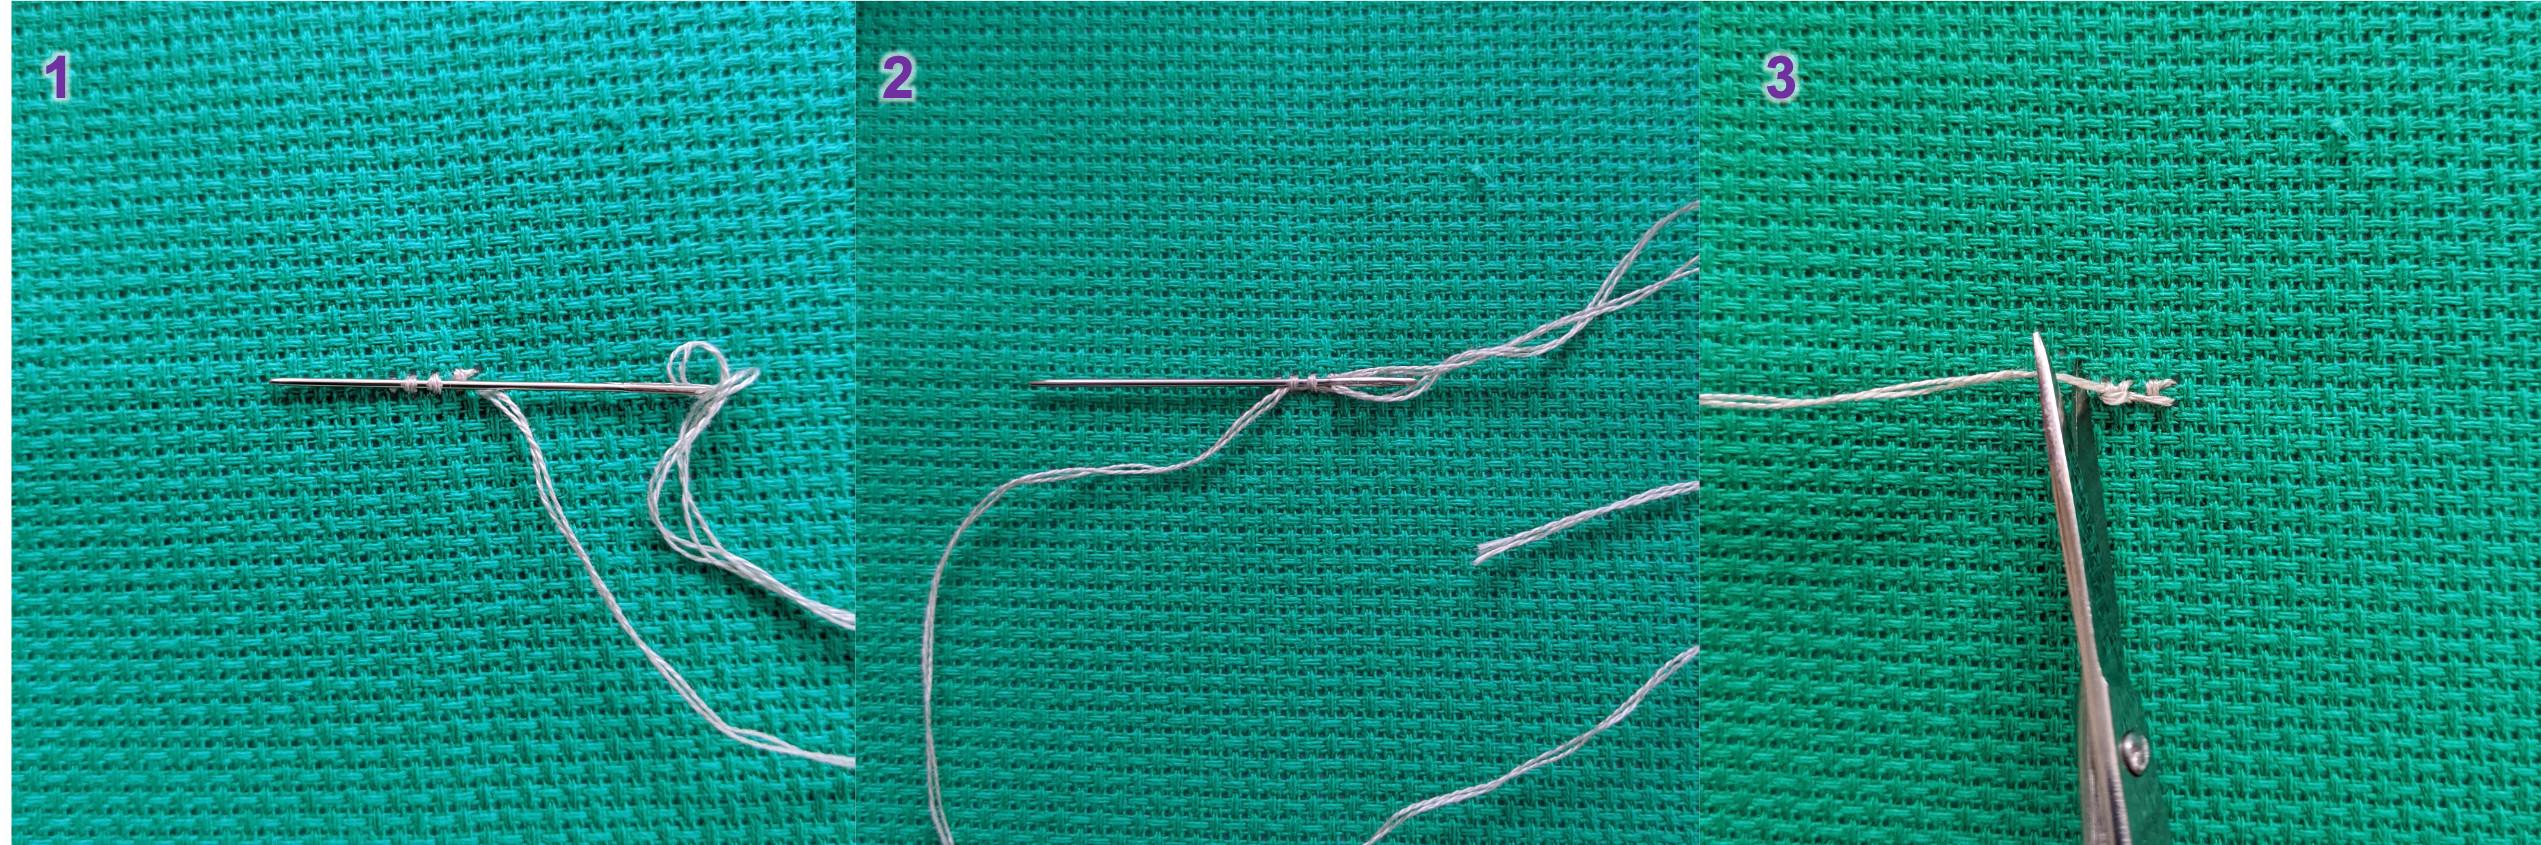
Now you will learn what to do when you run out of thread while stitching, finish working with one colour and need to move on to the next one, or finished your design.
You will have to start by tying a secure knot on the backside of your pattern on the back of the fabric.
Start by running your current threaded needle underneath the back of 3 or 4 stitches. Do this a couple of times to create an anchor.
This will prevent your stitches from coming undone. Cut the loose tail of the thread as close to the fabric as you can.
 |
|---|
| Figure 1: How to finish off a thread by securing it underneath some stitches. |
Further reading
- 10 ways to finish your embroidery hoop, by Auntieems crafts
Key Points
Choose a way to tie your threads when you finish off
Make sure that you have secured the end of your thread
Cut off any extra length to keep it neat